Here is the easiest part — click WebGL from the Build Settings…
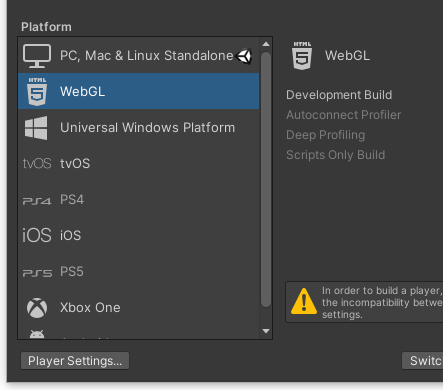
WebGL from File — Build Settings…
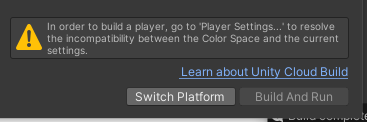
The color space error is corrected with a switch from Linear to Gamma. First click “Switch Platform” to:
(a) install and
(b) recompile the game using the WebGL platform installation.
Switch Platform button
All the Assets are imported to the new platform

Process of switching platforms
Open Player Settings to change the color settings
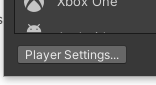
Player Settings…
From Player Settings… Choose Player — Other Settings — Color Space* (with its warning).
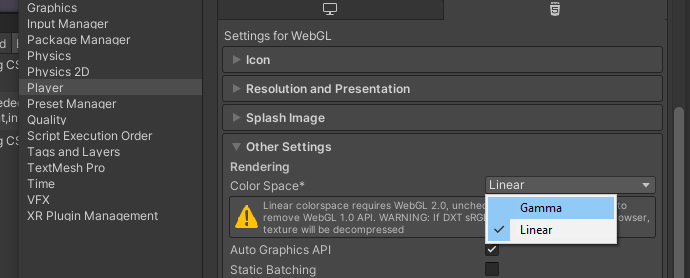
Gamma Color Space
This switch repeats another import of game assets
‘X’ out of the Player Settings and in the Buld Settings. Uncheck the special settings, and click Build to create a folder to save the files.
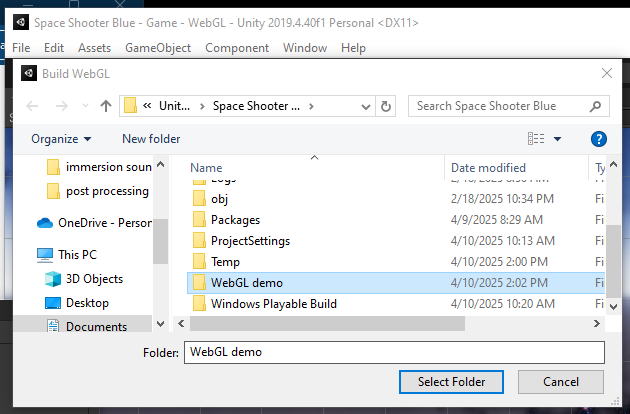
New folder with name “WebGL demo”
The build prepares an index.html and two folders of content to upload to a web server. Double clicking the index.html can present the game in the computer’s browser.

Building resources
After completion, Allow access from Windows Defender. The new folder is present.

Completed build
Here are the contents for a server.
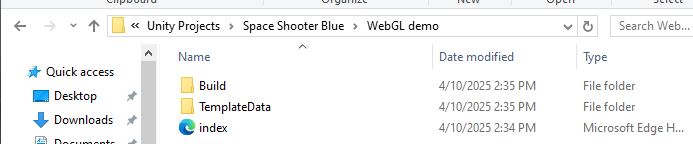
Index and folders for server
• • •
Remember to change build settings before continuing to develop and add features to the game project. (Windows-64 with Linear color in this example)
Here is a comparison across builds with new platform installations:
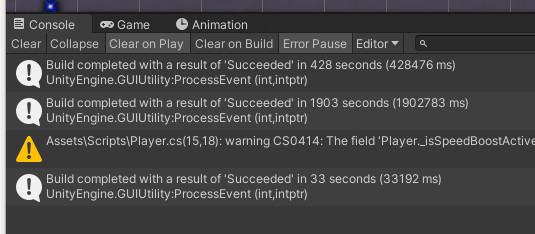
Build time comparisons