This example explains the creation of a second scene, a menu with its own background.
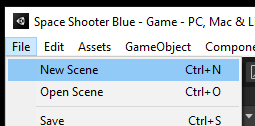
File menu with New Scene
The previous scene “Game” is saved, or prompted to save, and a new scene appears “Untitled.” Save and choose a name for the new scene and save to the Scenes folder.
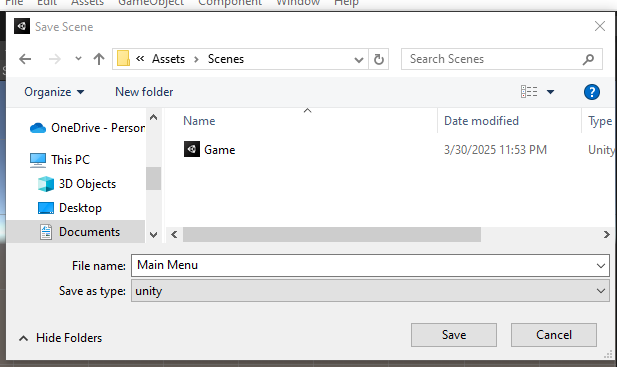
Name and save untitled new scene
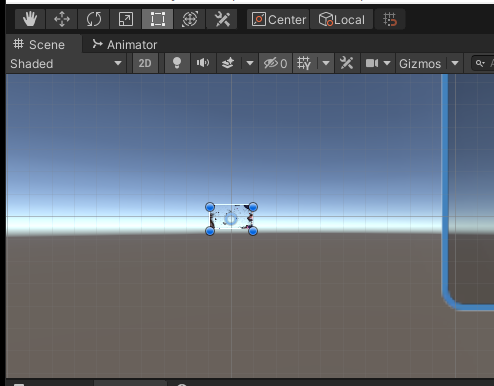
Now the Hierarchy begins with the new scene name.
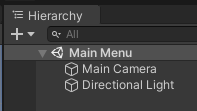
Hierarchy and new scene name
Hierarchy and new scene name In this example, right click to create UI — Image named “Title_Screen.”
Highlight “Title_Screen” in the Hierarchy to show the Inspector, and drag and drop the Sprite — UI — MainMenu (not the .jpg) to the “Source Image: MainMenu.”
Center and zero the position (0, 0, 0). Checkmark the “Image — Perserve Aspect” and look at the image size in the Title_Screen:
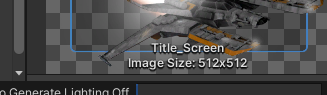
Image Size 512x512
In the inspector, adjust the Width and Height (100, 100) to match the image size (512, 512):
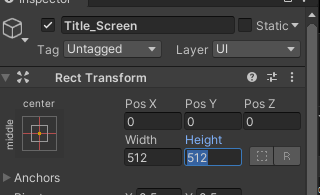
Adjust Width and Height
Highlight the Main Camera — Camera — Background to black from the default dark blue:
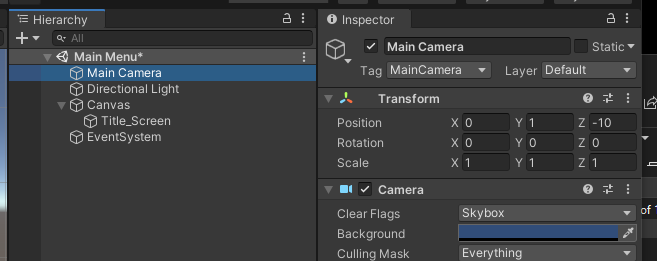
Main Camera Background
In the Camera — Clear Flags, change Skybox to Solid Color:
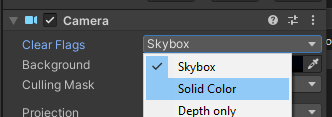
Camera Clear Flags Solid Color
Drag the background overlay, the parent, not the child .jpg, to the Hierarchy.
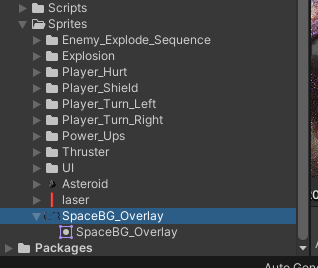
SpaceBG_Overlay
Zoom in to see the SpaceBG_Overlay, use the Rect tool to adjust sides, corners to fit the Game view edges.
Zoom and adjust edges of background overlay
Here is the Game view.
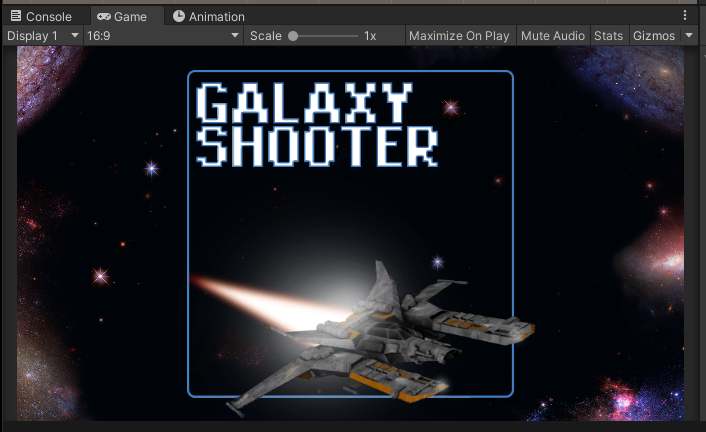
Game View
New Game Button
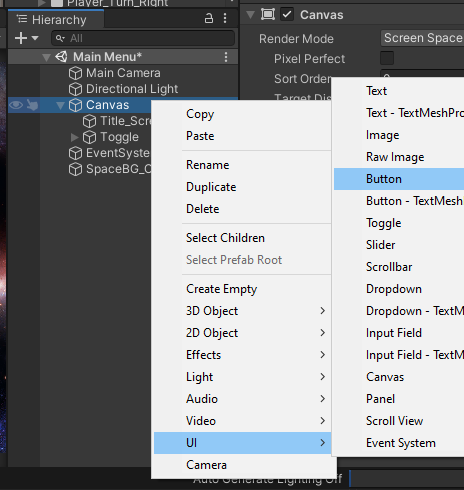
New UI button
Highlight the Button, rename “New_Game_Button” and position with the Rect tool. In the Hierarchy, the button has a child “Text.” Add “New Game” to Text component — Text property.

Button with Text property
At the bottom of the Button component is the “On Click {}” to enable communication with scripts.
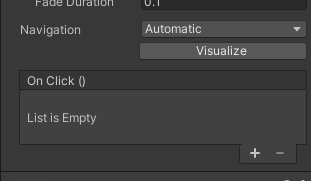
Button — On Click {} properties
Highlight the Canvas and change Canvas Scaler — UI Scale Mode — “Constant Pixel Size” to “Scale With Screen Size”
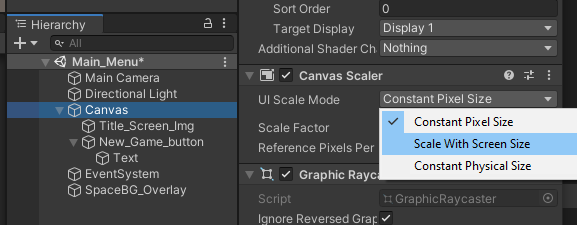
UI Scale Mode with Scale With Screen Size
Highlight the New_Game_Button and anchor to the right middle of the screen, repositioning as needed.
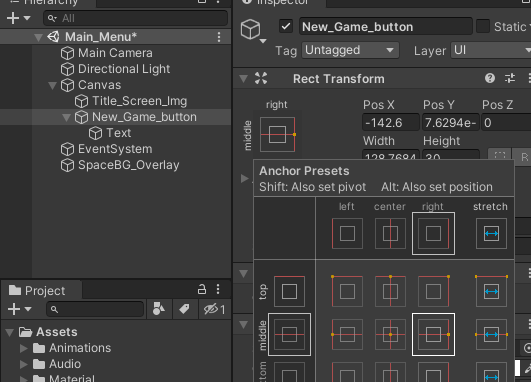
Anchor button to right middle of screen
Connecting a C# script to the Main Menu
Rather than drop and drag with the Canvas, connect to the Canvas, create a Main Menu folder for scripts relating to the Main Menu Scene, not to the UIManager script relating to the other scene with player lives, player score, or flickering “GAME OVER.”
Create a folder in Scripts for Main Menu.
Create a C# Script in the new Folder named “MainMenu”. Highlight Canvas to show the Inspector, and drag and drop the C# script to the Inspector.
MainMenu script in Canvas Inspector as added component
The Canvas has a script. To have the button click communicate with the script, double click to open the script.
public class MainMenu : MonoBehaviour
{
    public void LoadGame()
    {
        // load the game scene
    }
}
To communicate, open the Build settings.

File menu Build Settings
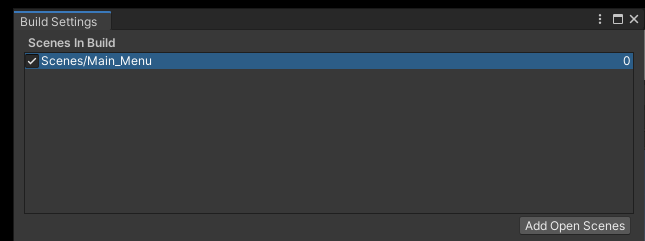
From the prior Build Settings, “Scene/Game” is set as “Scenes In Build.”

Prior Build Settings as Scenes/Game
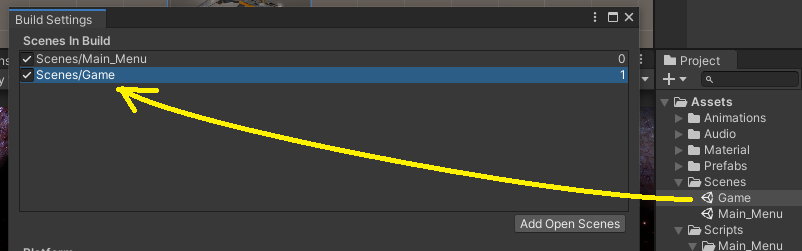
(a) Delete the current scene.
(b) Add current scene “Main_Menu”
(c) Add “Scenes/Game” as second below “Main_Menu.”
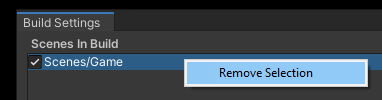
Right click on “Scenes/Game.” Click Remove Selection.
Remove Selection from Build Settings
Add Open Scenes.
Add Open Scenes
Drag “Game” from Project — Assets — Scenes — Game to Build Settings — Scenes in Build.
Drag from Assets — Scenes to Build Settings
Check the IDs, as Main_Menu has ID 0.
‘X’ out of the Build Settings, and return to the script.
Add “using UnityEngine.SceneManagement;”
using UnityEngine.SceneManagement;

public class MainMenu : MonoBehaviour
{
    public void LoadGame()
    {
        SceneManager.LoadScene(1);  // ID:1 main scene "Game"
    }
}
Save (so that Unity recognizes the method).
The On Click {} Event
Highlight the Hierarchy — Canvas — New_Game_button and in the component Button — On Click {} click the ‘+’ to add a connection.
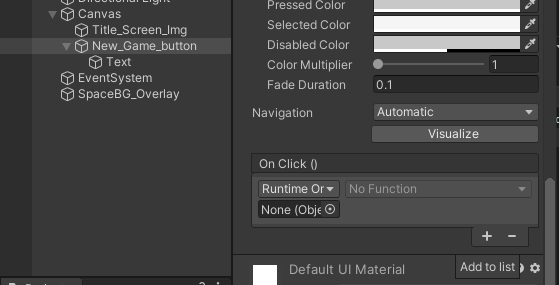
On Click {} with ‘+’ to Add to list
From the online tutor:
Drag in the object that has the component we want to talk to.
Canvas has the component script Main_Menu, so drag and drop onto the “None (Object)”
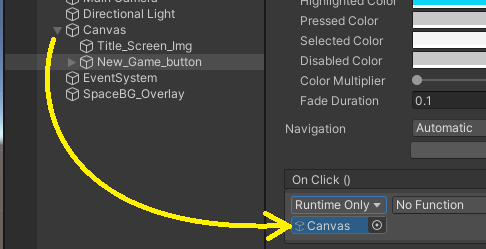
Drag Canvas onto property On Click {} of Button component
The “No Function” is a drop down menu with the available components in Canvas to choose from.
LoadGame() was declared public, so it appears in the list (if the script was saved earlier).
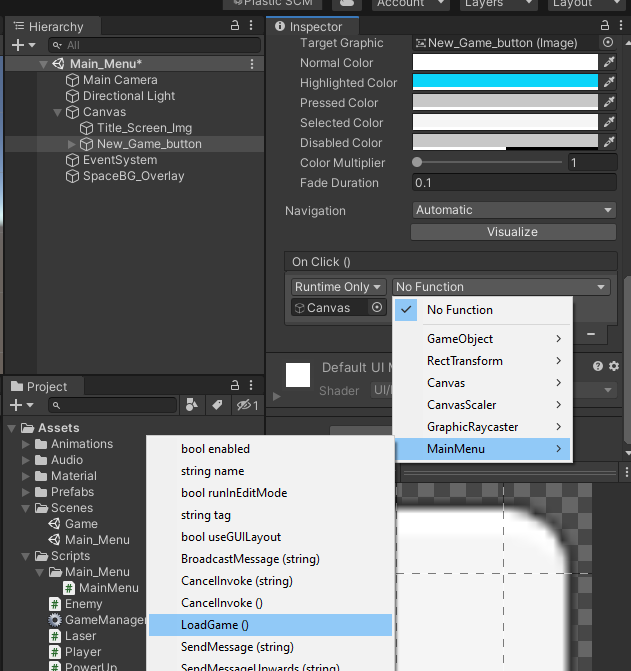
Adding LoadGame()
Save and Run.
Now with the LoadGame() method connected to the New_Game_button, Clicking the “New Game” button in the Camera game view starts the game.
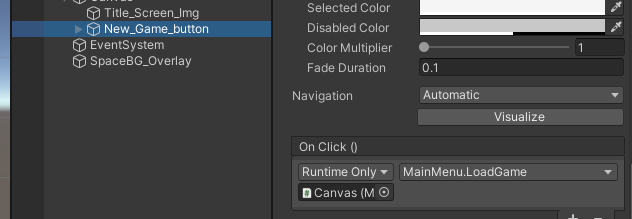
New_Game_button connected to Canvas with MainMenu.LoadGame()
One more change: Scene “Game” is no longer ID 0. Decide if restart ‘r’ goes to “Main_Menu” scene or to “Game” scene.
Before:
...
            SceneManager.LoadScene(0);  // ID 0 is scene "Game"
...
After correction and Save:
using UnityEngine.SceneManagement;

public class GameManager : MonoBehaviour
{
...
    [SerializeField]
    private bool _isGameOver;   // starts out false
    void Update()
    {
        // if r key pressed, restart current scene
        if( Input.GetKeyDown(KeyCode.R) && _isGameOver )
        {
            SceneManager.LoadScene(1);  // ID 1is scene "Game"
        }
    }
...
}
Adding Text Credit
Right click Hierarchy — Canvas and choose UI — Text.
(a) Name new component.
(b) Add some Text — Text property.
(c) Adjust color,
(d) Change Horizontal Overflow (“wrap”) and
(e) Vertical Overflow (“Truncate”) to “Overflow,
(f) Anchor to center and adjust position.
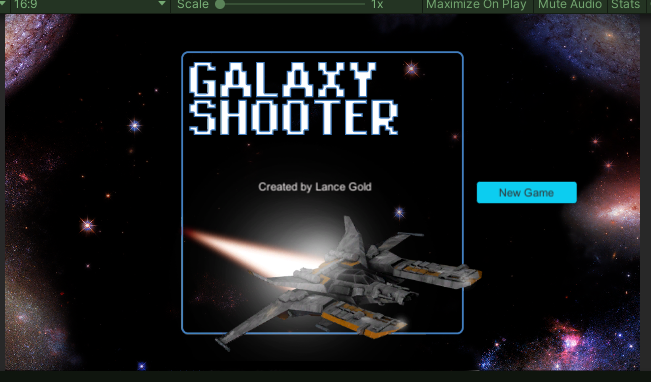
Main Menu with Credit Text