Here is the brief list of steps:
(a) Change from ‘Default’ to ‘Tall’.
(b) Drag ‘Game’ tab below ‘Scene’.
(c) resize panes.
(d) change Project pane to one column.
(e) save layout.
Here are some screenshots of how this is done step by step, starting with a reset to the default layout available from the upper right menu:
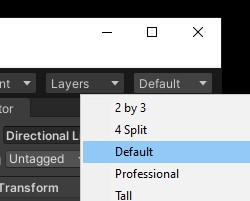
‘Default’ layout option
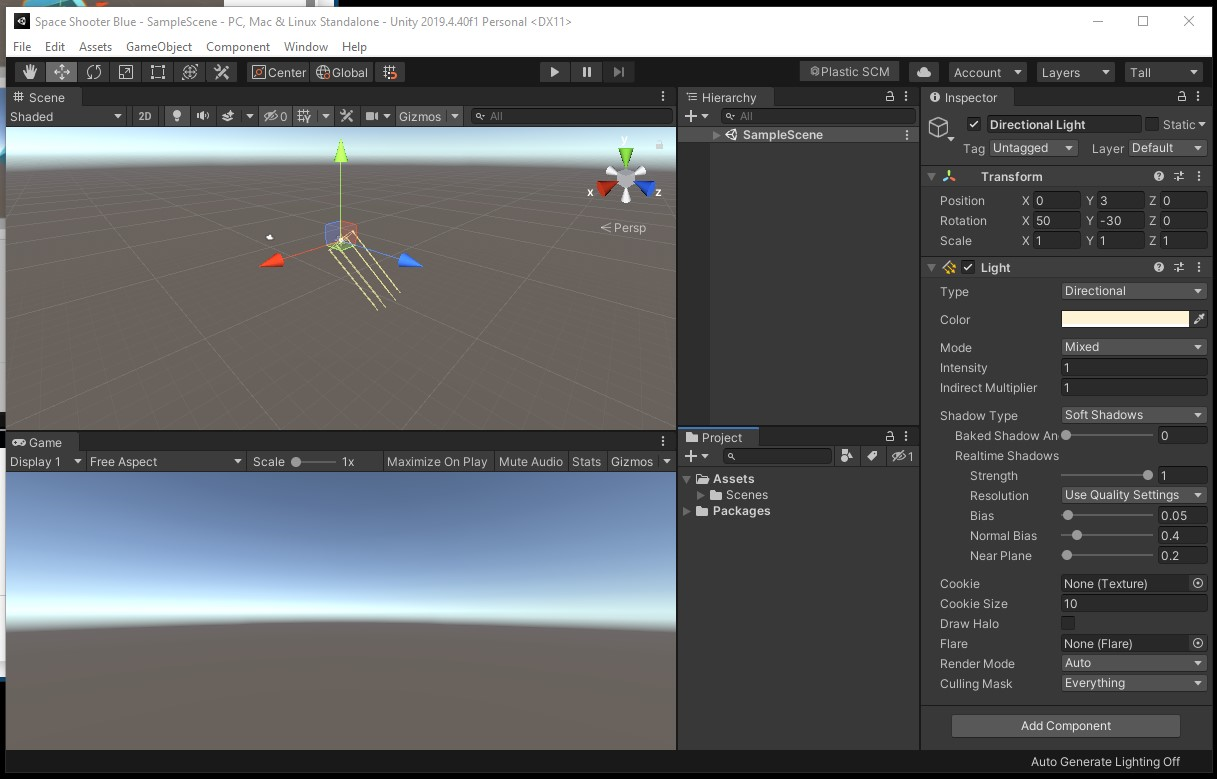
Here is the arrangement look with the default layout:
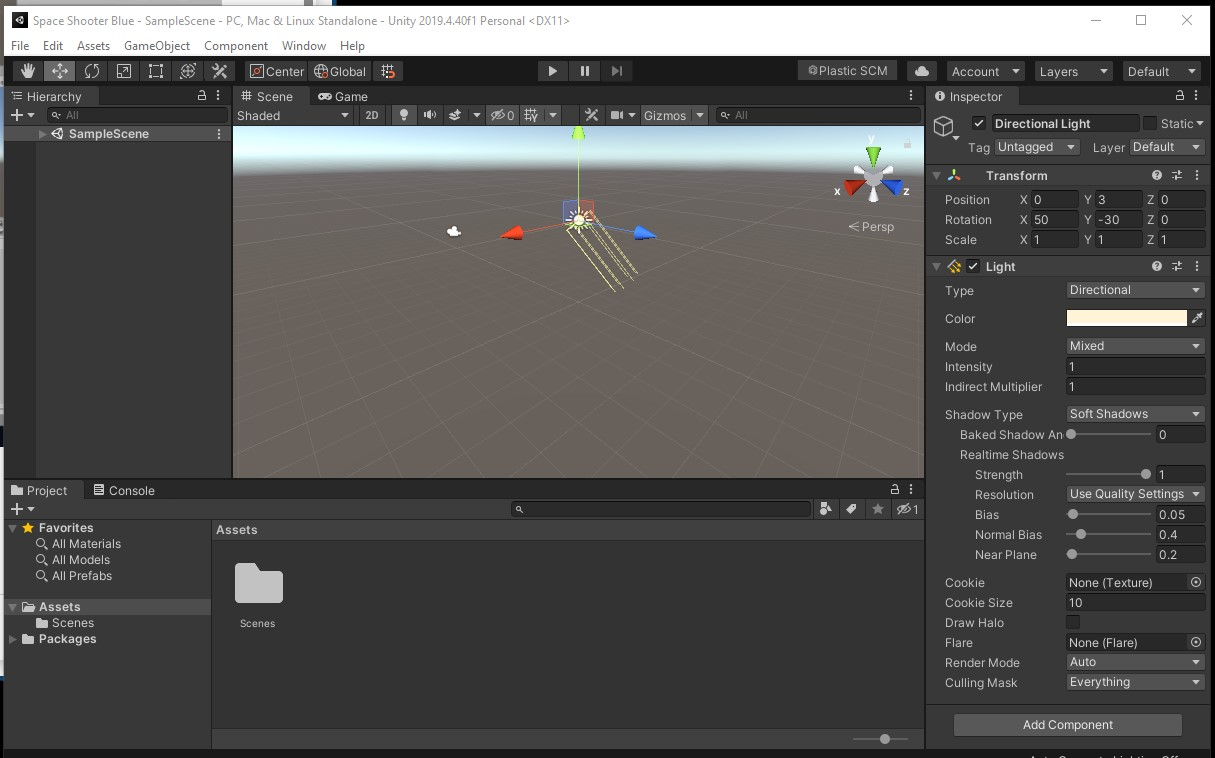
Default layout arrangement
Create many of the changes by choosing the ‘Tall’ layout from the menu:
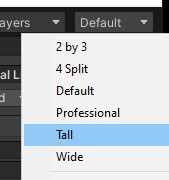
Choose ‘Tall’ layout from menu
Here is that look:
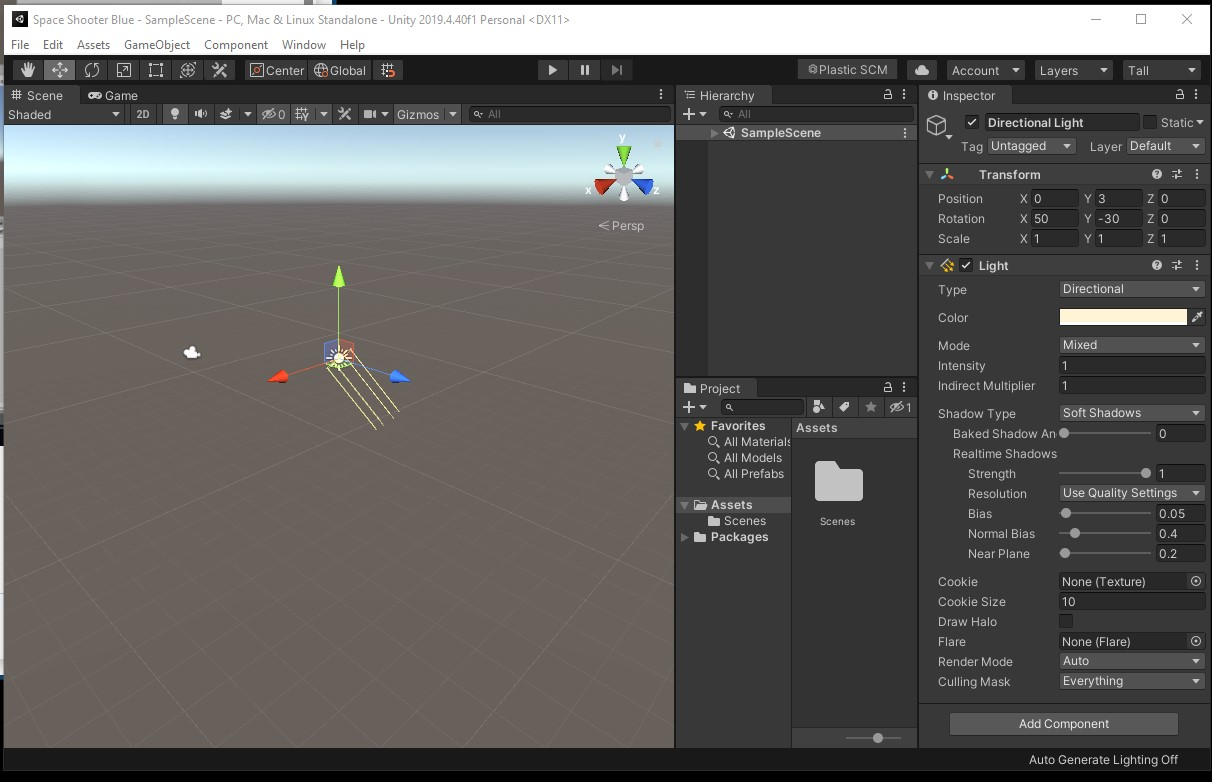
Tall layout arrangement
In order to have both the ‘Game’ and ‘Scene’ view available, drag the tab down the window below the Scene view.
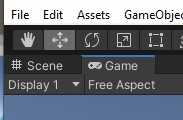
‘Game’ tab before dragging below ‘Scene’ tab
Here is the over and under arrangement:
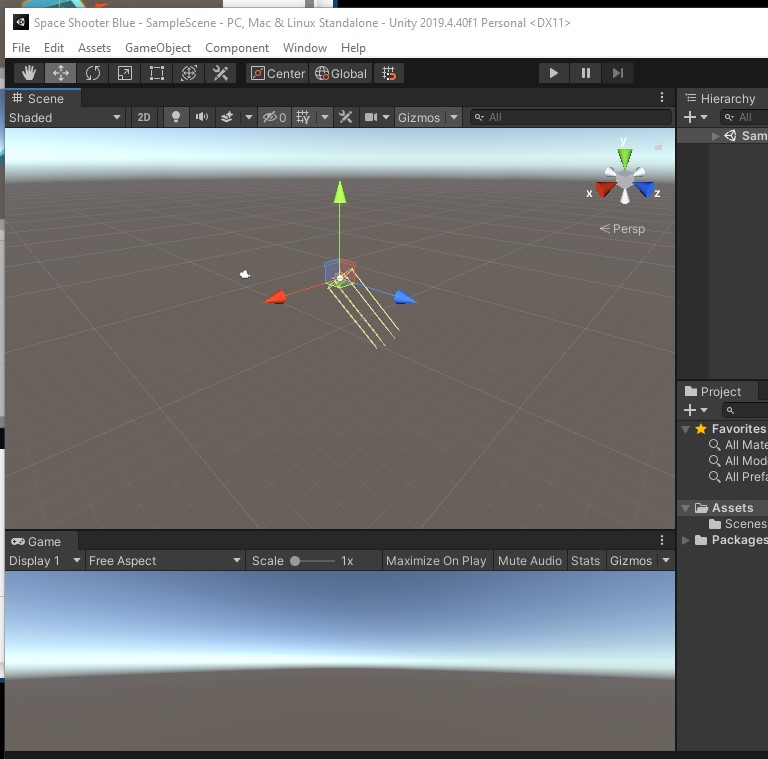
Layout after dragging ‘Game’ below
Next resize vertically to even up the sizes.
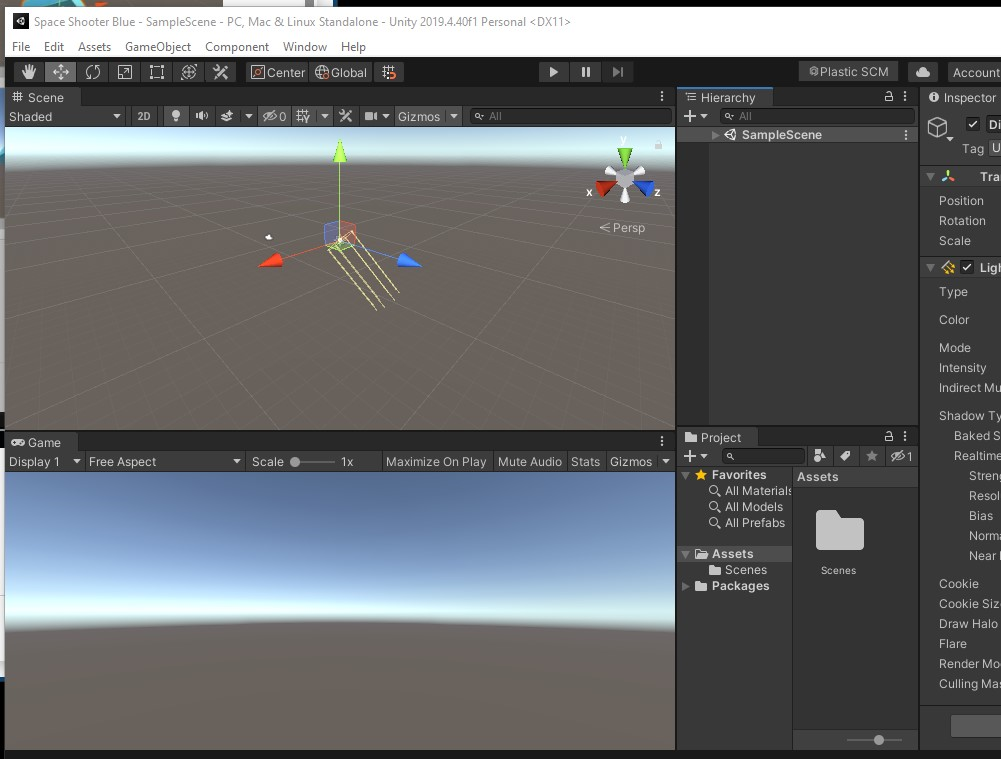
Resized Layout with four corners
Click the ‘3-dot’ menu of the Project space to choose the ‘One Column Layout’:
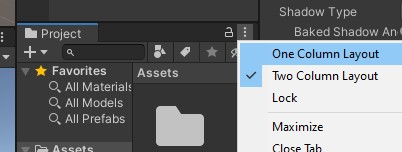
Change Project from ‘Two’ to ‘One’ Column
Here is the final appearance.
Professional layout arrangement
Save Layout for next use.
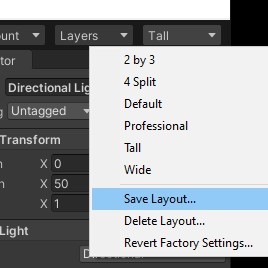
Save Layout