For this example, a prior version of Unity is desired to build the training project. In another example, the latest version Unity 6 is incompatible with my older desktop hardware.

Unity Hub has opened, and next open the Installs row
After opening Unity Hub, and logging in, click Installs, and then Install Editor to begin the desired version search.
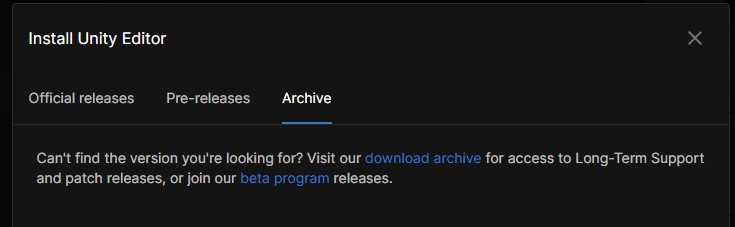
Click Archive, and click the link ‘download archive’ for 2019
In this example, 2019 is desired, which does not show on the Official releases (too old), so click Archive, and click “download archive” for the older 2019 year downloads.
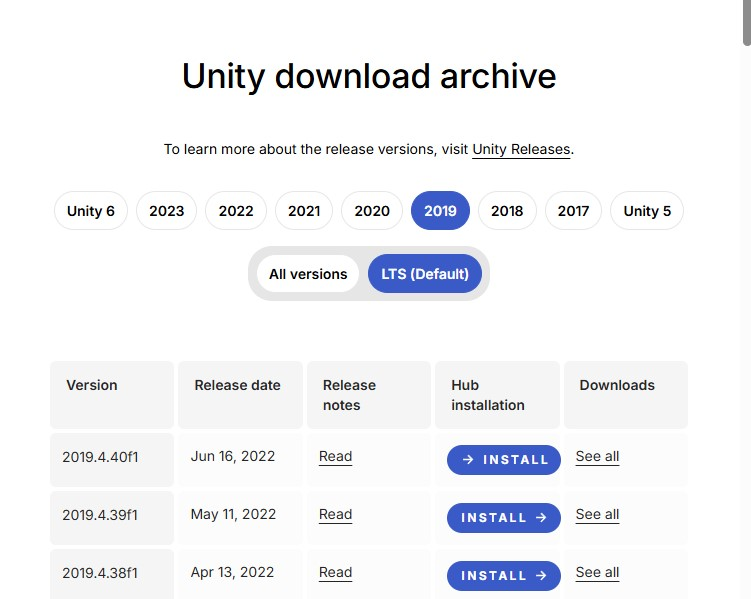
For this example, 2019’s LTS is installed
There are many downloads in the archive. First click the year, then hover and click the Version.
There is a warning before adding a prior MS VS version
There is a warning before adding a prior MS VS version
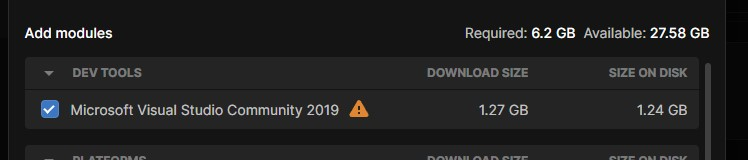
Now we have a feature list to install with the 2019 download. There is a warning with the Microsoft VS. It’s version is earlier than version already installed.

uncheck the Add modules — Microsoft Visual Studio
Heed the warning. It is okay to install different versions of Unity. A single version of MS Visual Studio is okay.
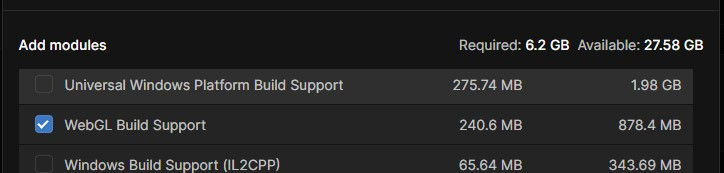
Check to Add module for WebGL in this example
In this example project, click to add “WebGL….” support to the modules added.
After installing Unity’s desired versions, open MS VS Installer
After Unity has completed installation. Run the Visual Studio Installer to bring it up to date
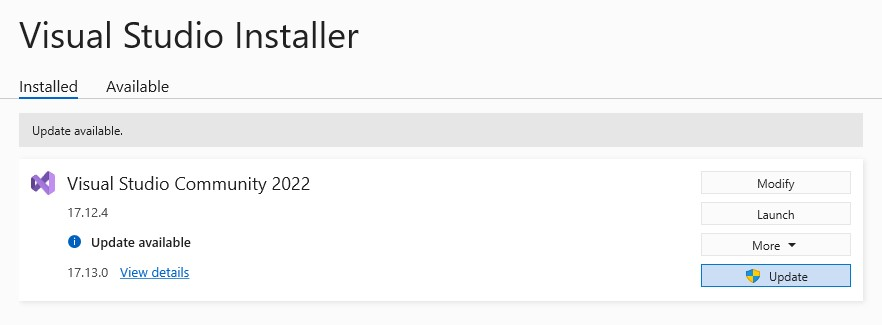
Update the MS VS Community
Here is a screenshot showing there are Updates available.
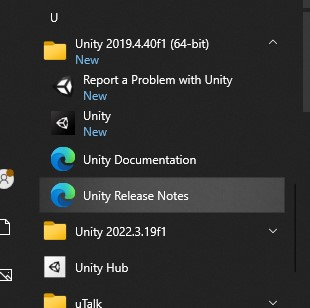
Verify the desired Unity version is available after installation
After the installation, updating, and module adding, check the Windows Start Menu to verify the multiple Unity versions.